Generating social share images for your blog
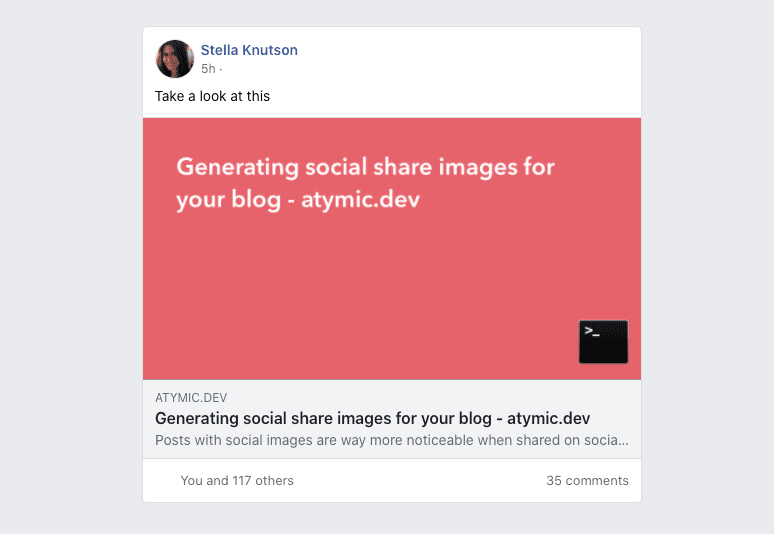
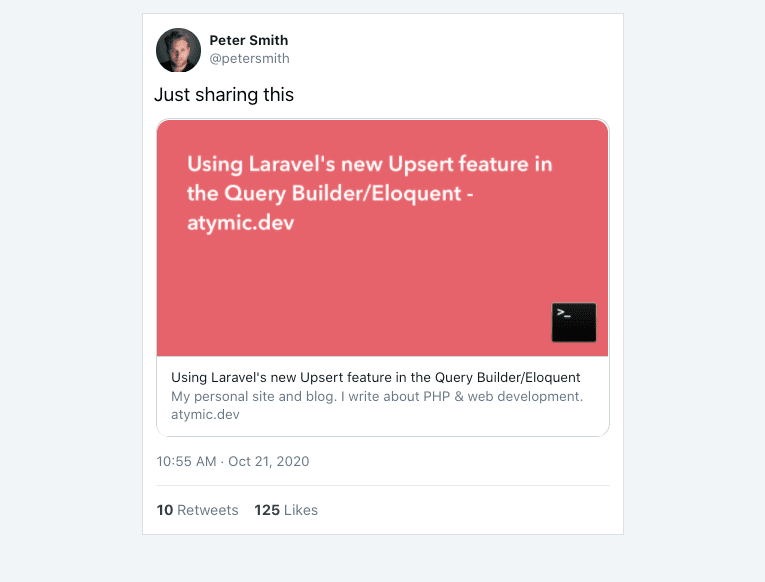
Add social images to your blog posts is a great way to improve click troughs and expand your readerbase. For example, consider these two tweets below. In the first one, it's just a plain link to the homepage of my blog (no social share images). The second has an automatically generated social image. I think it's pretty clear which is more attractive to click on.

Adding automatic social images to your blog
To get these awesome automatic images showing on your site there's a couple of quick steps.
First off, head over to Motif to configure your social image generation options. Just input your blog/site URL and the tool will guess at a nice color scheme for your images. Obviously you are free to customise this if it doesn't look good.
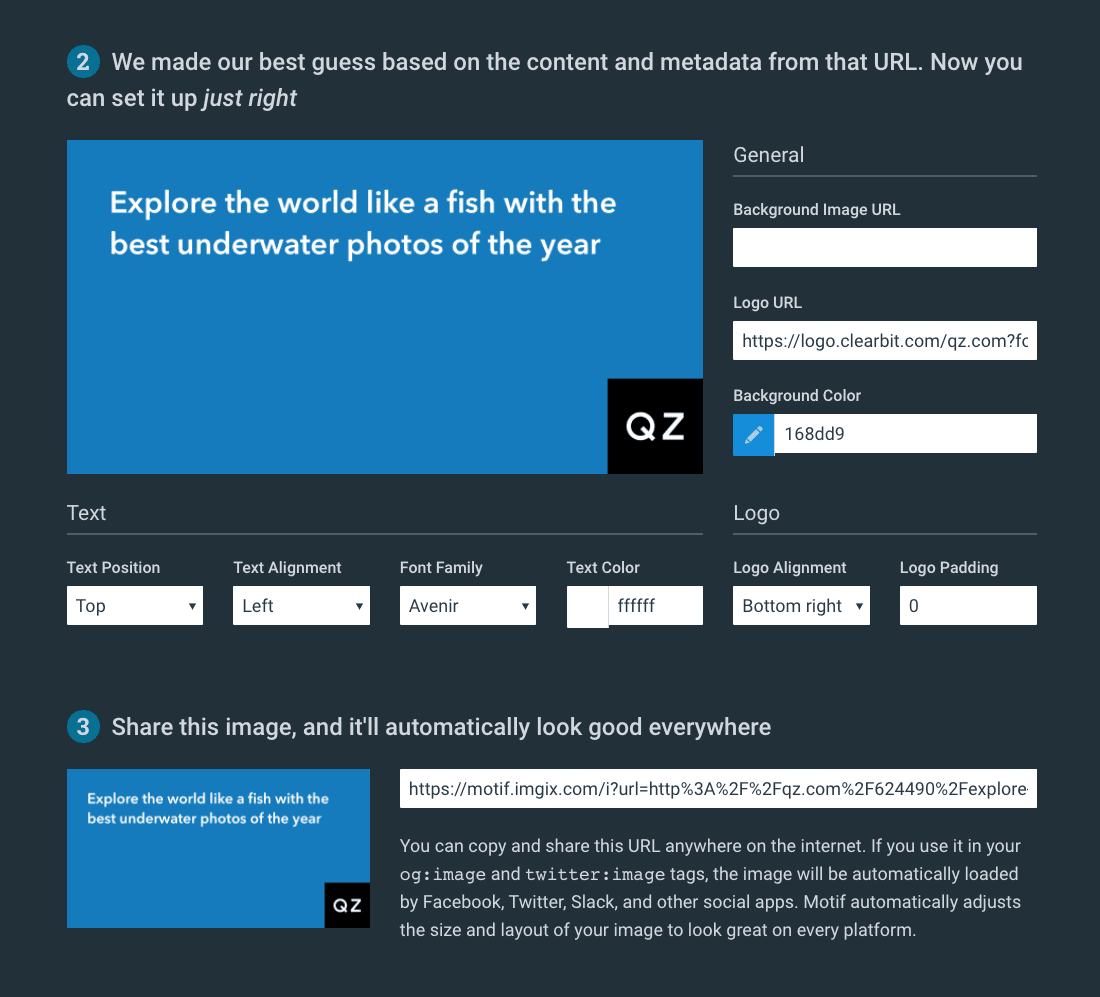
When you're happy with your config, copy the URL from step 3 and save it. Head over to your blog/site code and open up the template for your posts (or whatever other page you want to add the images to).
Gridsome
In my case I'm using gridsome, which a little different to a standard html template, so I'll add examples for both.
Using the metaInfo function we can write properties to the <head> section of the page. It's a good idea to add opengraph tags (used by facebook/pinterest/etc) as well as the twitter specific tags.
You'll see that for the social image, I've used the URL from Motif and inserted my page URL. I also added a sha256 version has to the end of the url to make sure that the image updates if I change the content (motif with cache the generated image indefinitely).
import shajs from 'sha.js'

export default {
metaInfo () {
  let meta = [
    {
      property: 'og:type',
      name: 'og:type',
      content: 'article'
    },
    {
      name: 'twitter:site',
      key: 'twitter:site',
      content: '@atymic',
    },
    {
      name: 'twitter:title',
      key: 'twitter:title',
      content: this.$page.post.title,
    }
  ]

  meta.push(...[{name: 'description', tag: 'name'}, { name: 'og:description', tag: 'property'}, { name: 'twitter:description', tag: 'name'}].map(prop => ({
    [prop.tag]: prop.name,
    key: prop.name,
    content: this.$page.post.summary,
  })))

  const pageURL = encodeURI(`https://atymic.dev${this.$page.post.path}?v=${shajs('sha256').update(this.$page.post.content).digest('hex')}`)

  const socialImage = this.$page.post.socialImage
      || `https://motif.imgix.com/i?url=${pageURL})}&color=e63946&logo_url=https%3A%2F%2Flogo.clearbit.com%2Fatymic.dev%3Fformat%3Dpng%26size%3D300&logo_alignment=bottom%2Cright&text_alignment=top%2Cleft&logo_padding=0&font_family=Avenir%20Next%20Demi%2CBold&text_color=fff`

  meta.push(...[{name: 'image', tag: 'name'}, {name: 'twitter:image', tag: 'name'}, {name: 'og:image', tag: 'property'}].map(prop => ({
    [prop.tag]: prop.name,
    key: prop.name,
    content: socialImage,
  })))

  meta.push({
    name: 'twitter:card',
    key: 'twitter:card',
    content: 'summary_large_image',
  })

  return {
    title: this.$page.post.title,
    meta,
  }
},
}
Standard HTML
If you're not using gridsome, take a look at the example below. These tags should cover all of the different social sites.
<head>
    <meta name="description" content="{{ your_post_description }}">
    <meta name="author" content="{{ author_name }}">
    <meta property="og:type" name="og:type" content="article">
    <meta name="twitter:site" data-key="twitter:site" content="@{{ twitter_username }}">
    <meta name="twitter:title" data-key="twitter:title" content="{{ twitter_card_title }}">
    <meta name="description" data-key="description" content="{{ your_post_description }}">
    <meta property="og:description" data-key="og:description" content="{{ your_post_description }}">
    <meta name="twitter:description" data-key="twitter:description" content="{{ your_post_description }}">
    <meta name="image" data-key="image" content="{{ your_motif_image_url }}">
    <meta name="twitter:image" data-key="twitter:image" content="{{ your_motif_image_url }}">
    <meta property="og:image" data-key="og:image" content="{{ your_motif_image_url }}">
    <meta name="twitter:card" data-key="twitter:card" content="summary_large_image">
</head>
Success!
Once you've made the changes to your template, deploy your site and run a check using a tool like Bannerbear's Twitter Card Preview Tool. This will show you if there's any issues with your markup. They also have one for facebook as well.
Here's how this post would look on facebook using the tool above: